Tube Genuis AI YouTube Content Generator
Version: 1.0 | License: MIT | Author: Divya Gusai
Welcome to Tube Genuis AI! This guide will help you install, configure, and use the AI YouTube Content Generator, even if you have limited technical experience.
Table of Contents
Quick Start Guide
- Unzip the package and open the folder.
- Run
setup.sh(macOS/Linux) orsetup.bat(Windows) to install everything automatically. - Start the app:
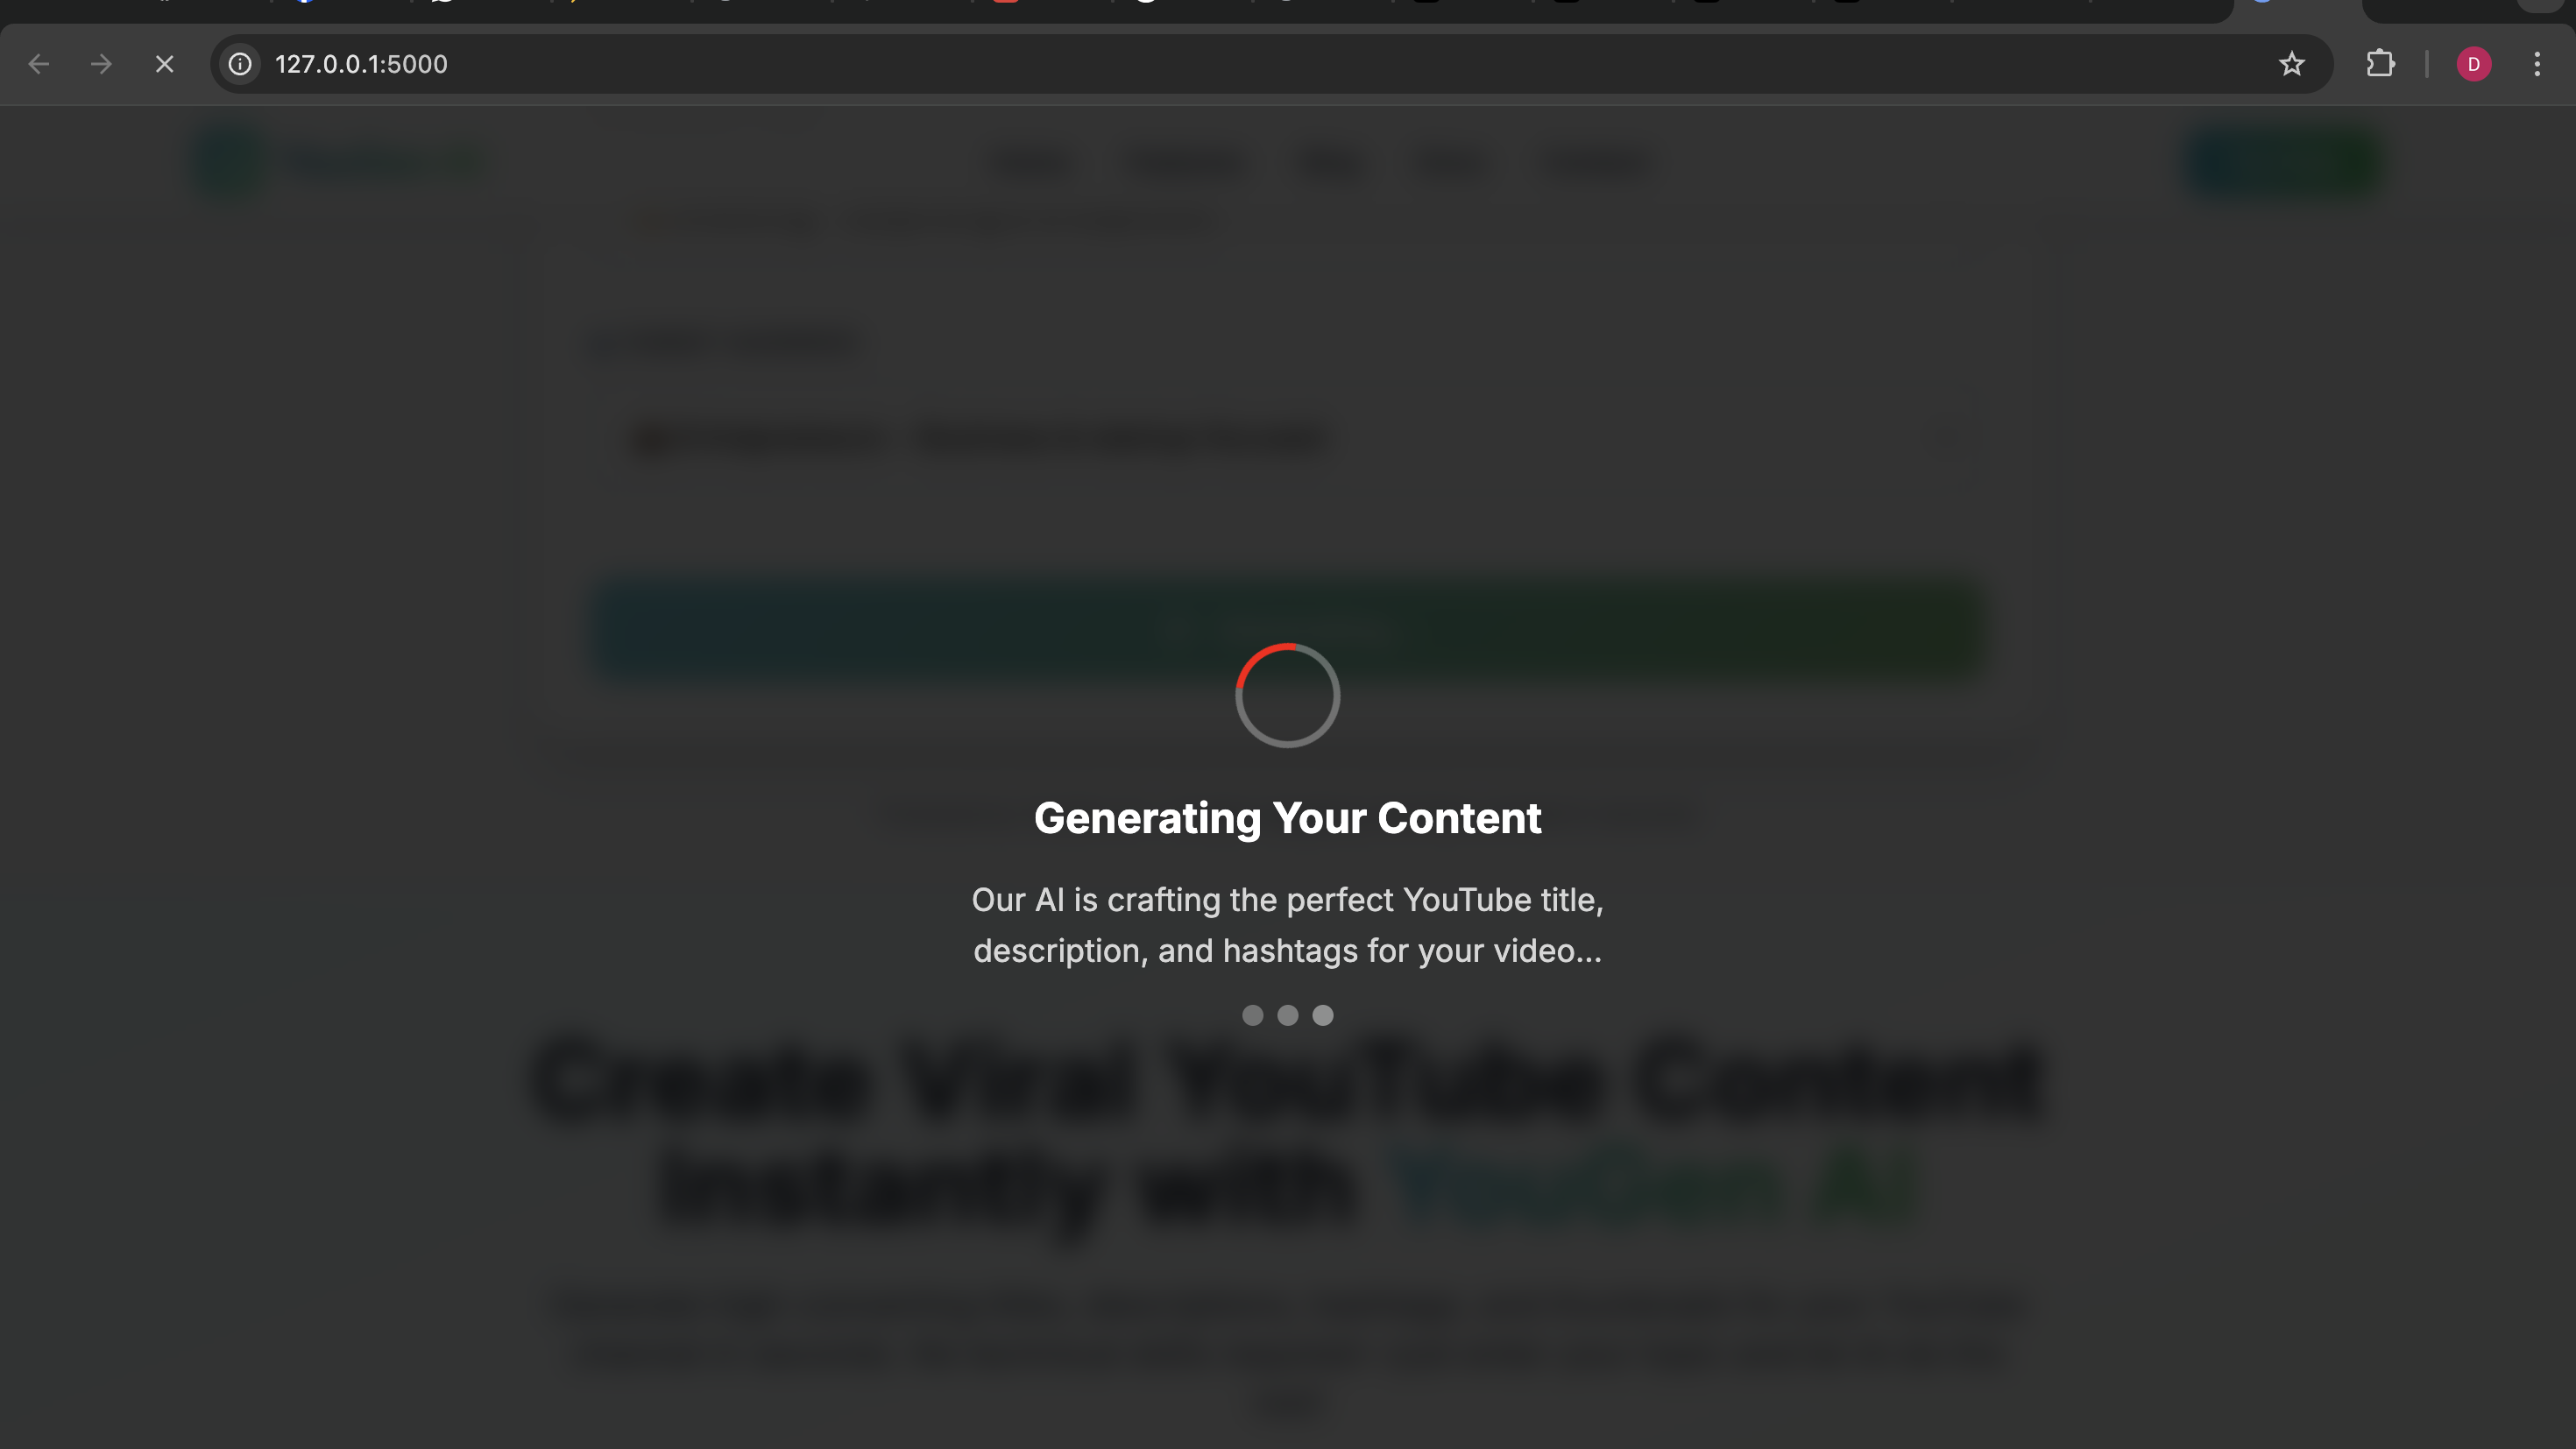
python app.py - Open http://localhost:5000 in your browser.
- Enter your YouTube topic, select tone and audience, and click Generate.
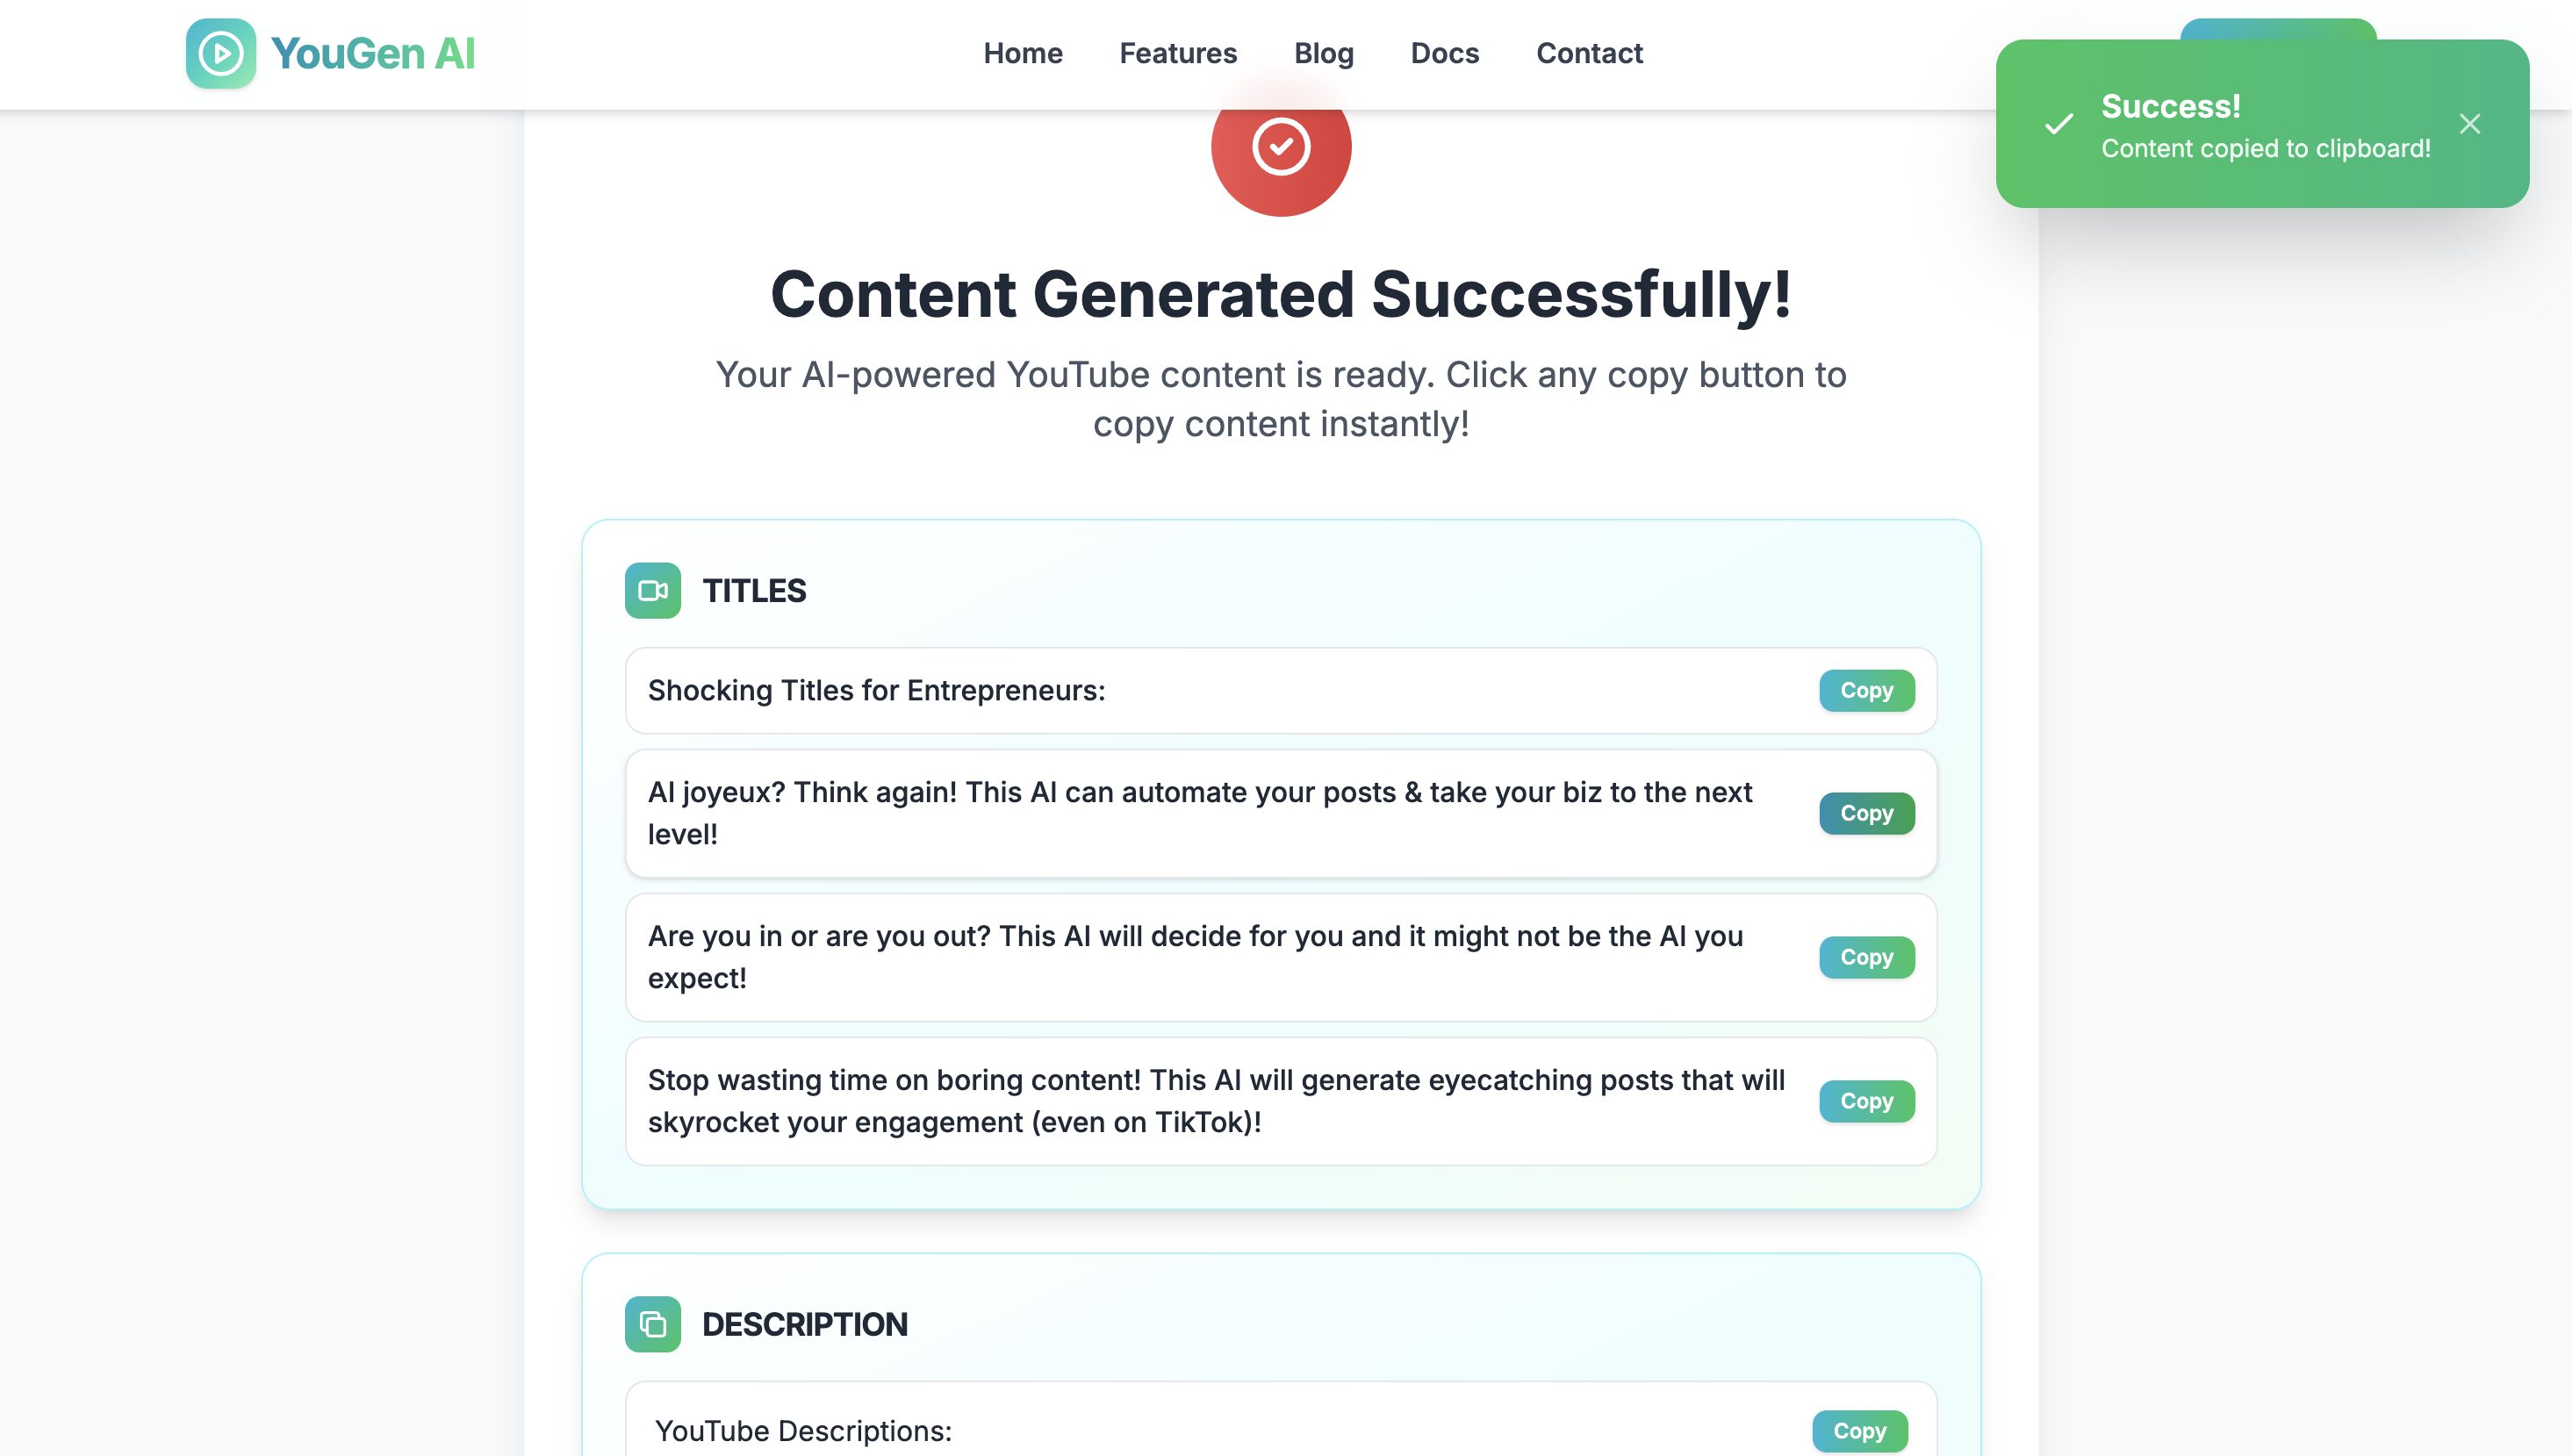
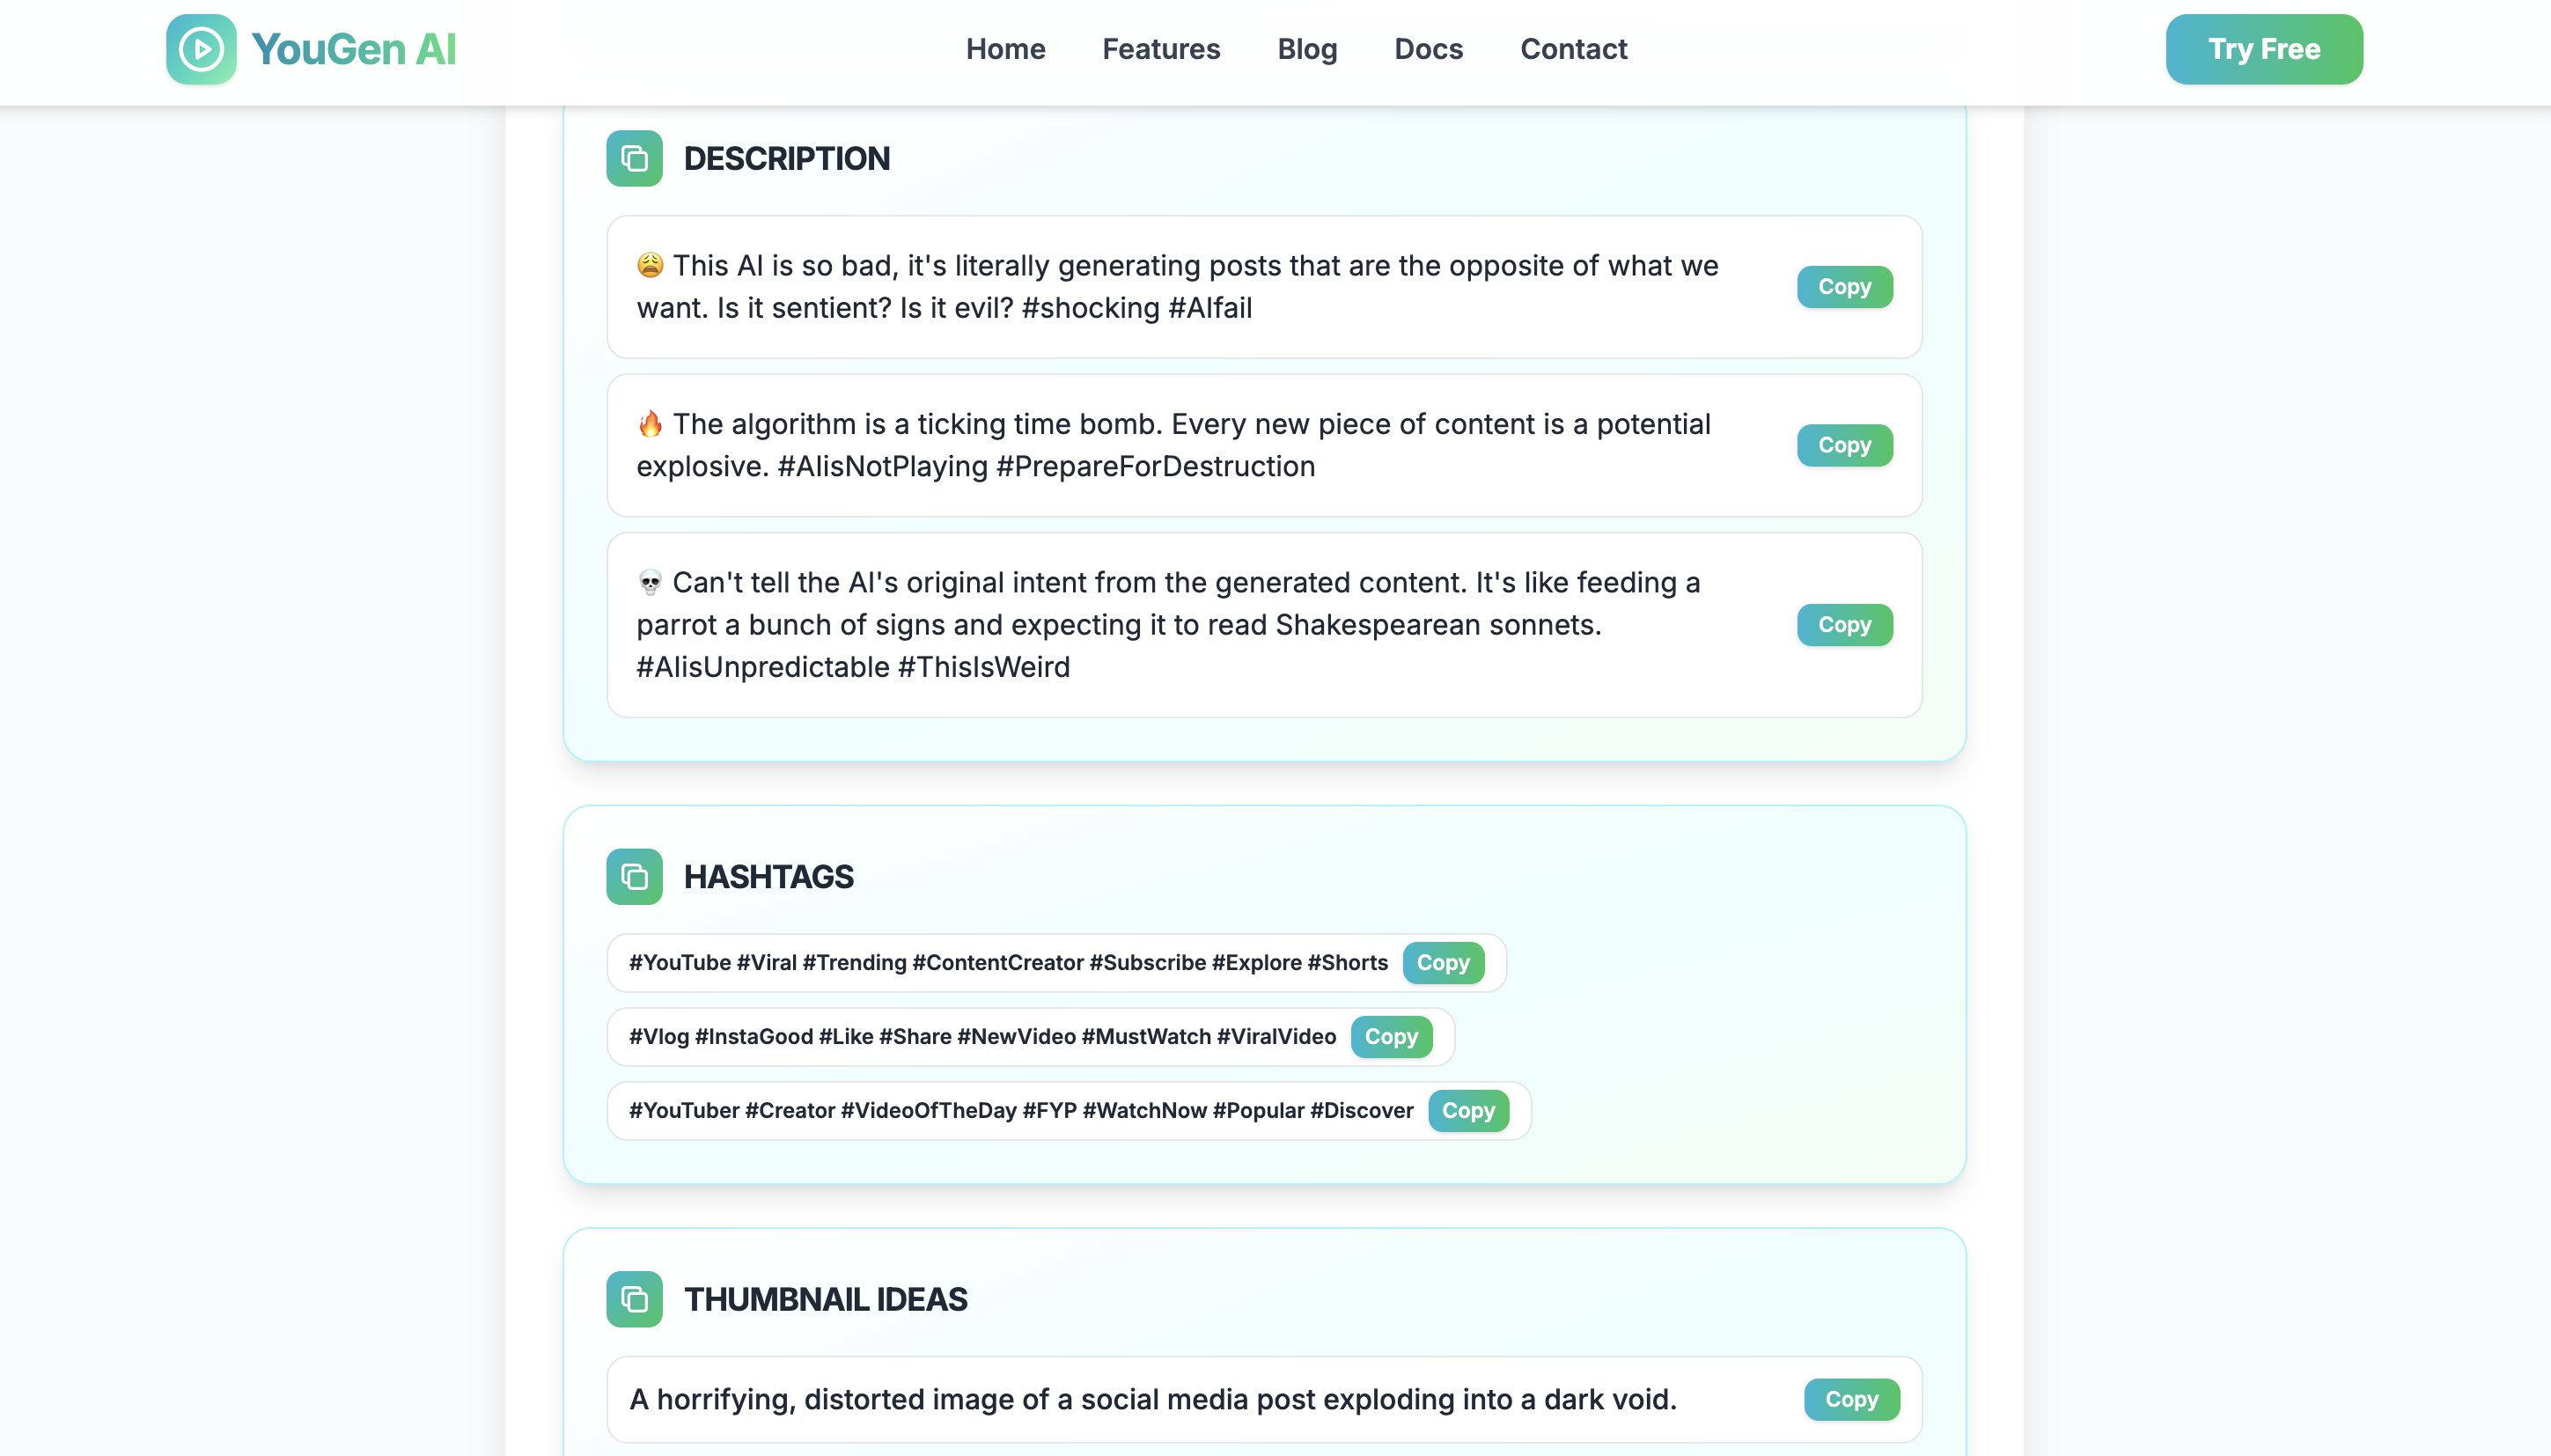
- Copy the generated titles, descriptions, hashtags, and thumbnails for your YouTube videos.

Features
- Generate viral YouTube titles, descriptions, hashtags, and thumbnail ideas instantly
- Powered by Ollama AI (local LLM) for privacy and speed
- Modern, responsive web interface (mobile & desktop)
- SEO-optimized output for YouTube growth
- Customizable return policy for digital sales compliance
- Easy deployment to Render, Heroku, Railway, or your own server
- Google site verification & dynamic sitemap for SEO
- Professional blog and support sections included
Requirements
- Python 3.8+
- pip (Python package manager)
- Ollama (for local AI model inference) [Download]
- Git (for deployment, optional)
- Cloud account (Render, Heroku, or Railway) (optional for cloud deployment)
Installation
Local Installation (macOS/Linux/Windows)
- Download or clone the project:
git clone https://github.com/Divya-Goswami/yougen_ai_cc.git - Navigate to the project folder:
cd yougen_ai_cc - Run the setup script:
./setup.sh(macOS/Linux)
or
setup.bat(Windows) - Start Ollama and ensure the required model is available (e.g.,
ollama run gemma:2b) - Run the app:
python app.py - Open http://localhost:5000 in your browser
INSTALLATION.md in your download.Integration with Existing Projects
You can integrate Tube Genuis AI into your existing Flask or Python web app by importing the main logic from app.py or by using the API endpoints (if you expose them). For advanced integration, see the code comments and README.md.
- Copy the relevant functions or routes from
app.pyinto your project. - Ensure all dependencies in
requirements.txtare installed. - Optionally, run Tube Genuis AI as a standalone service and interact via HTTP requests.
How to Use Tube Genuis AI in Your Project
- Follow the Quick Start steps above to get Tube Genuis AI running locally.
- To use the AI content generator in your own app, send a POST request to
/withtopic,tone, andaudiencefields. - Example using Python
requests:
import requests

data = {
    'topic': 'How to grow on YouTube',
    'tone': 'Educational',
    'audience': 'General'
}
response = requests.post('http://localhost:5000/', data=data)
print(response.text)
You can also copy the generated content from the web interface and use it in your YouTube uploads.
Configuration
Configuration Options
| Variable | Description | Example |
|---|---|---|
| SECRET_KEY | Flask session secret | your-secret-key |
| FLASK_DEBUG | Enable debug mode | True/False |
| RETURN_POLICY_TYPE | Return policy for digital sales | money_back_30 / money_back_7 / no_returns |
Return Policy
Configure your return policy for digital sales compliance and Google Search Console:
- Open
config.pyand select your preferred return policy (30-day, 7-day, or no returns). - Or, set the environment variable
RETURN_POLICY_TYPE(recommended for cloud):
RETURN_POLICY_TYPE=money_back_30
Other Settings
- API keys: Not required (uses local Ollama model)
- SEO: Edit
index.htmlmeta tags for your brand - Blog/Support: Edit
app.pyortemplates/as needed
Licensing
This product is licensed under the MIT License. You are free to use, modify, and distribute it in personal or commercial projects. See LICENSE.txt for details.
Exporting Documentation to PDF
To export this documentation as a PDF, open DOCUMENTATION.html in your browser and use the Print dialog (Ctrl+P or Cmd+P), then select “Save as PDF”.
Screenshots Folder
Place your screenshots in a folder named screenshots in the same directory as DOCUMENTATION.html. Use these filenames:
screenshot_1.pngscreenshot_2.pngscreenshot_3.pngscreenshot_4.png
Open DOCUMENTATION.html in your browser to verify the images display correctly.
Deployment
Deploy to Render (Recommended)
- Push your code to GitHub
- Connect your repo to Render
- Set environment variables (see
RETURN_POLICY_CONFIG.md) - Click Deploy
- Set up a custom domain if desired
Other Platforms
- Heroku: Use
Procfileandheroku config:set - Railway: Use project variables and deploy from GitHub
- Manual: Run
python app.pyon your server
Troubleshooting & FAQ
- App won’t start? Check Python version and dependencies (
pip install -r requirements.txt). - Ollama not found? Download and install from Ollama.com.
- Google Search Console errors? Make sure your return policy and sitemap are configured (see above).
- Need to reset? Delete
venv/and re-runsetup.shorsetup.bat. - Still stuck? Contact support below.
Support & Contact
For help, feature requests, or bug reports, contact:
- Email: tubegenuisai@zohomail.in
- GitHub Issues: Open an Issue
Changelog & Credits
- v1.0 – Initial release: AI YouTube content generator, blog, SEO, return policy config, Render/Heroku/Cloud support
MIT License. Powered by Ollama and Flask. Design inspired by YouTube and modern SaaS best practices.